Here are a few photos of the initial tear-down of the front end of the car. The goal here is to stop corrosion and rebuild the suspension while we're in the neighborhood. The PST suspension kit is in hand and will be ready to go after some decorative painting.
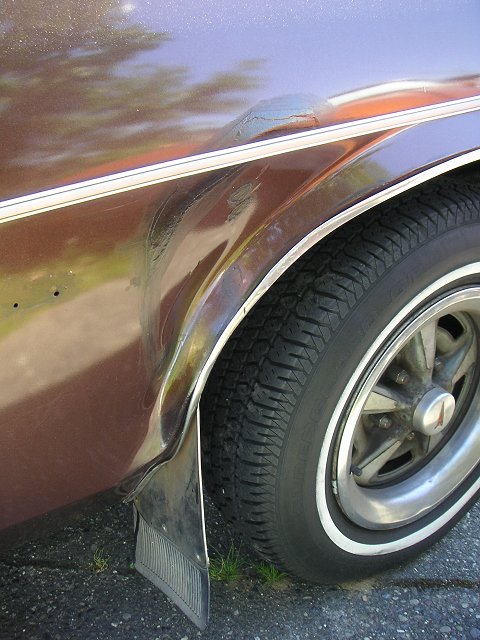
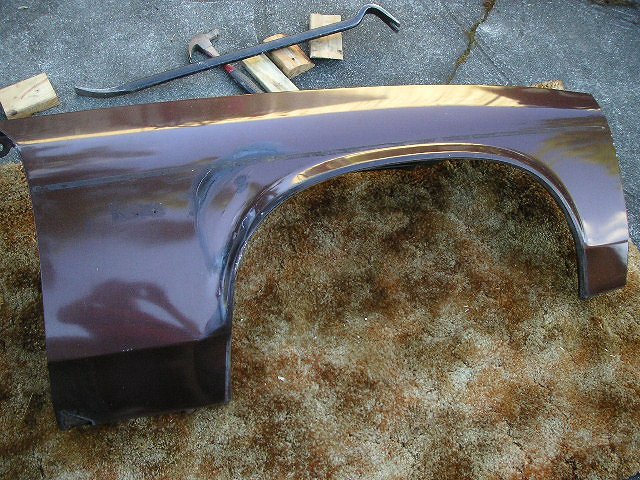
1- the only significant body damage is behind the passenger side front wheel
well, where someone had backed into it. Sheet metal is caved in and the
well shape is somewhat deformed
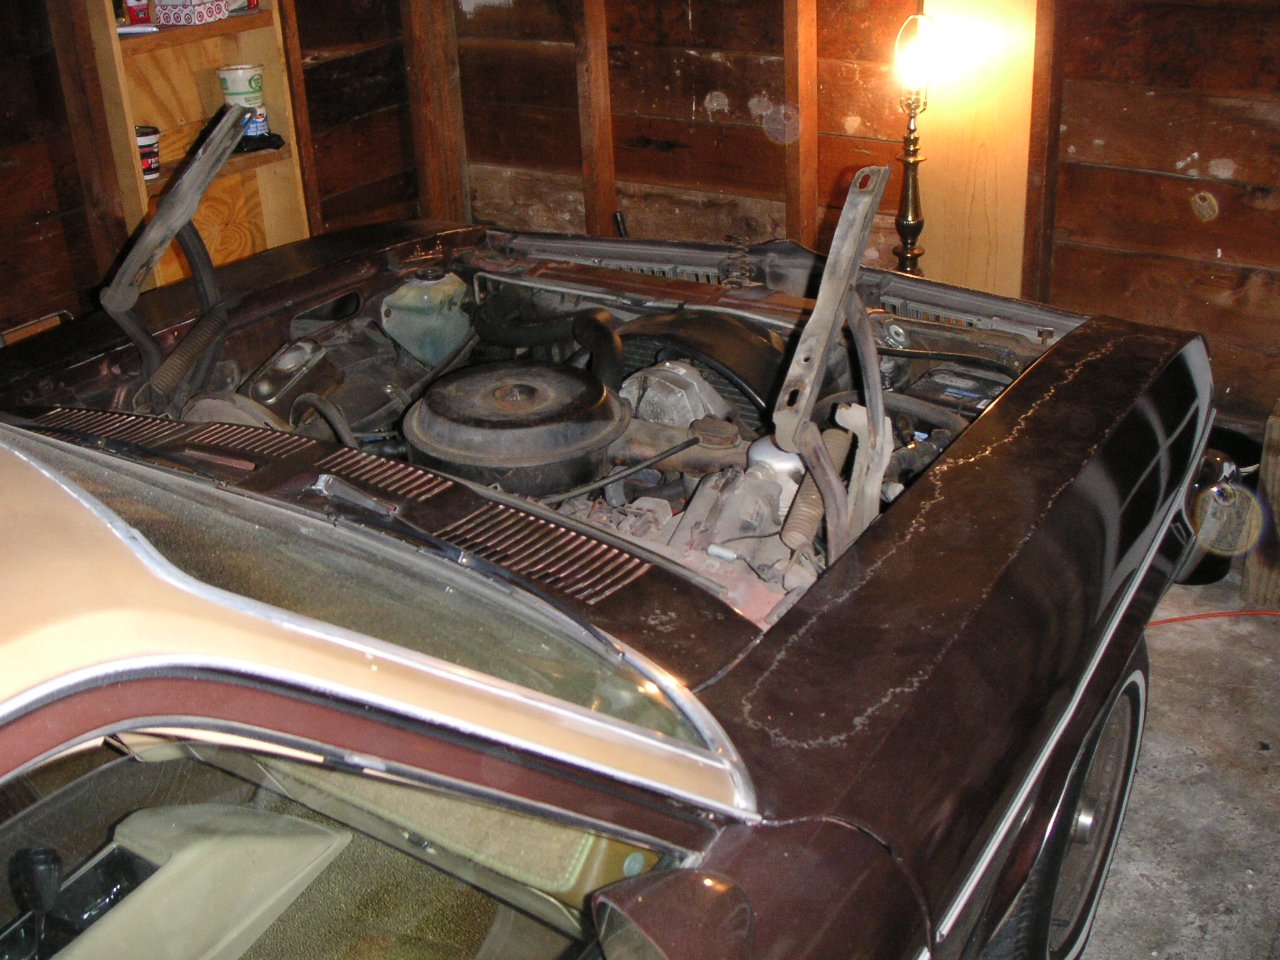
2- we're on a mission to kill any hidden rust, so those panels are coming off.
Hood goes first! Note the very stylish shop lighting. I will try to wire
the garage for power while I'm out here.
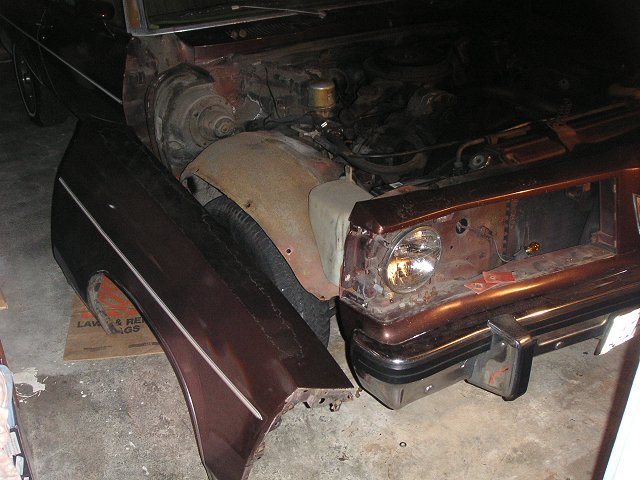
3- some of the grille needs to be removed to get at the bolts holding the
fenders on, which come off with a little maneuvering; removing the header panel
first would have made it a tad easier
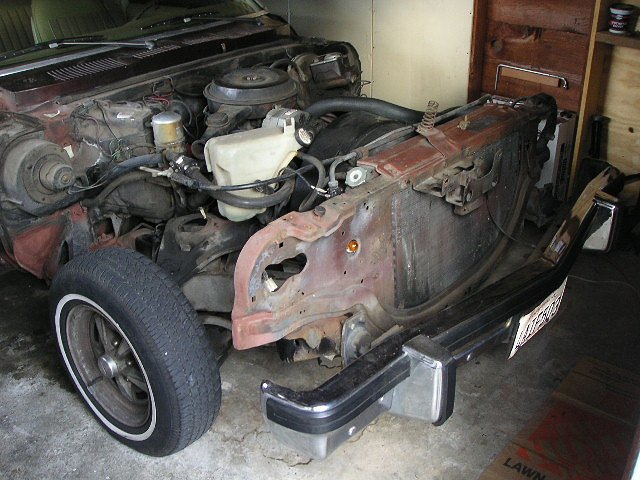
4- all the sheetmetal is off, and the cowl panel is also off at this time (May
04)


5- using the very high-tech tools you see in the background, I actually managed
to get the curvature of the wheel opening back to normal
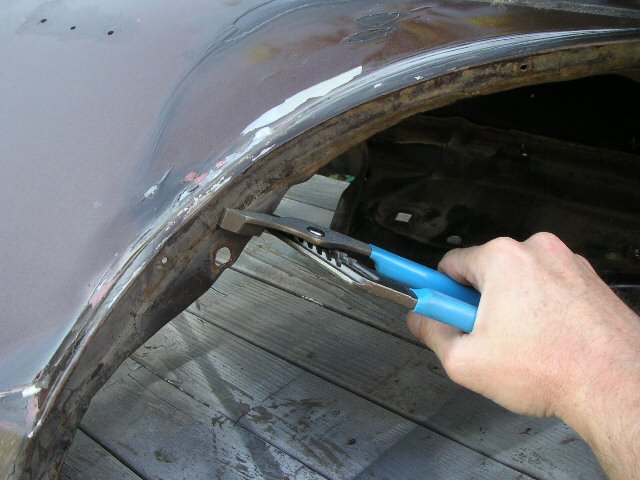
6- the crease being brought back into shape...it used to end about 1" short of
the edge. You can really see the caved-in area in this view; this problem
will require more pressure than mere body weight...a creative solution is in
work (see below)
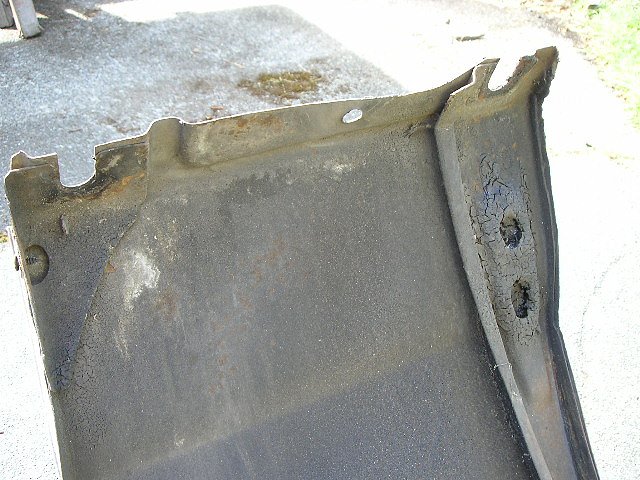
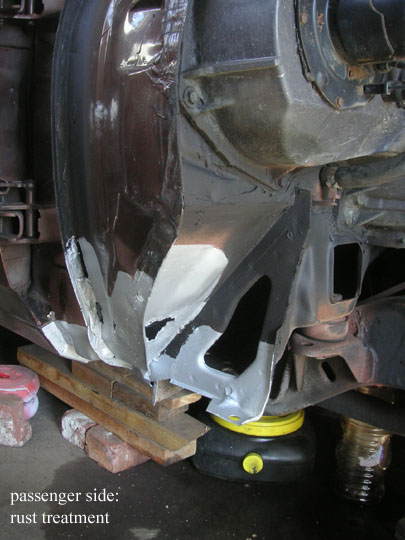
7- there are only 2 major rusted areas on the car: the outer, inside corners of
the radiator support and the bottoms of both front fenders/quarters/rockers (you
pick the term you like).
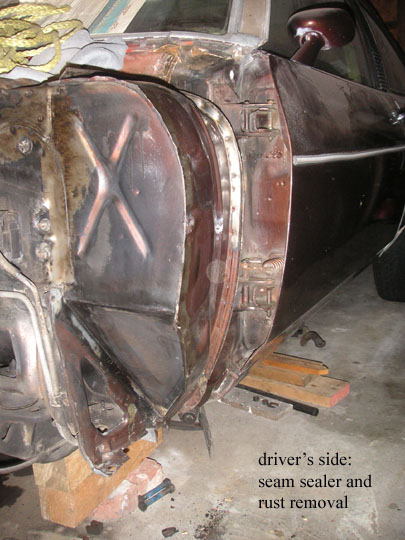
8- here's why almost every period GM car rusts out in this area: a poor design
with insufficient drainage. After removing all bad metal, the
inside and outside will be treated with a 1-step/2-application product called
Rust Bullet, after which a fiberglass patch will be applied.
NEW STUFF BELOW! 6-28-04 and beyond...
I've been able to do a bunch more, and have a lot more photos to post, but this
will do for now. More progress has been made with painting of 2 of the rally rims, grillework,
wheel wells, cowl, radiator area, and nose). Remember, I'm not a
restoration pro, just an engineer who's trying not to make too many mistakes
(ha-ha).
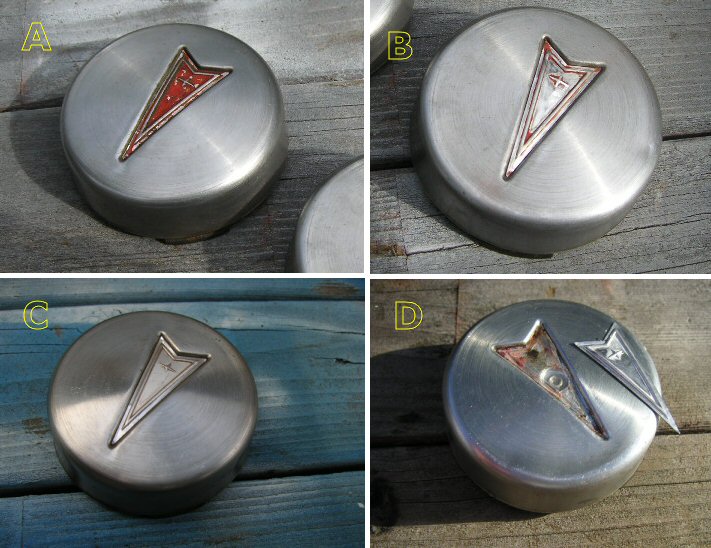 A: Center caps had been touched-up by hand; B: miniature wire brush removes some
of the buildup, but not the best approach. C: Paint remover worked well!
D: However, if you leave it sit too long, it will soften the backing and pop the
arrow right out...so now you know how they manufactured the cap, huh! Some
silicone will keep the arrow in place.
A: Center caps had been touched-up by hand; B: miniature wire brush removes some
of the buildup, but not the best approach. C: Paint remover worked well!
D: However, if you leave it sit too long, it will soften the backing and pop the
arrow right out...so now you know how they manufactured the cap, huh! Some
silicone will keep the arrow in place.
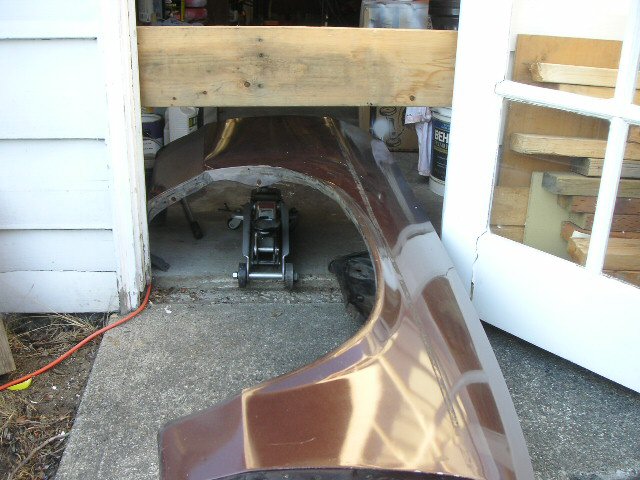
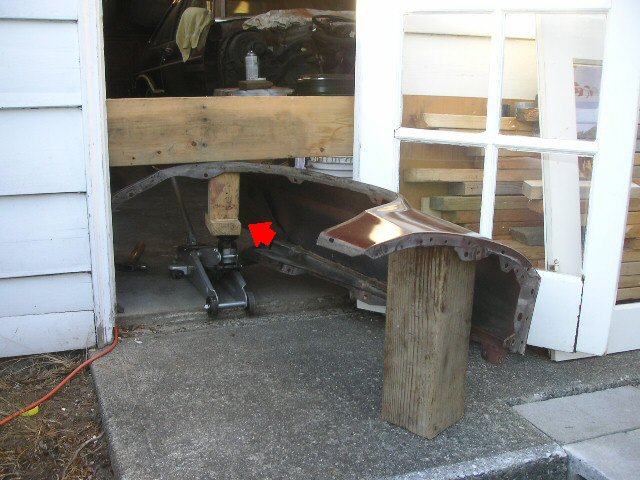 Don't
laugh, it worked! Here's the "creative solution". To press out the dent in
the quarter, I screwed a 2x6 into the door frame of the garage (after
test-fitting the panel to be sure I had access). Didn't have a bottle
jack, so used the floor jack instead, with a T-shaped piece of wood (arrow) to
keep it steady.
Don't
laugh, it worked! Here's the "creative solution". To press out the dent in
the quarter, I screwed a 2x6 into the door frame of the garage (after
test-fitting the panel to be sure I had access). Didn't have a bottle
jack, so used the floor jack instead, with a T-shaped piece of wood (arrow) to
keep it steady.

 The key was to position the panel prior to applying the force; see spacer blocks
(red arrow). The dent being removed is shown at yellow arrow. Second pic:
choose your pressure points carefully, go slow and be patient. You can
also do a bit of careful manual bending or hammering when the panel is under
pressure, too.
The key was to position the panel prior to applying the force; see spacer blocks
(red arrow). The dent being removed is shown at yellow arrow. Second pic:
choose your pressure points carefully, go slow and be patient. You can
also do a bit of careful manual bending or hammering when the panel is under
pressure, too.
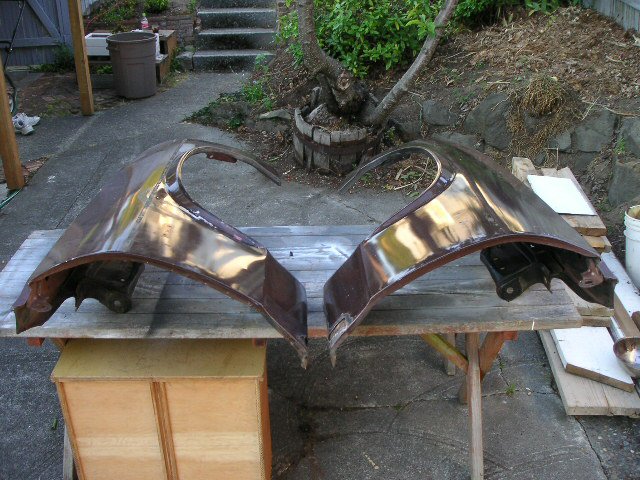
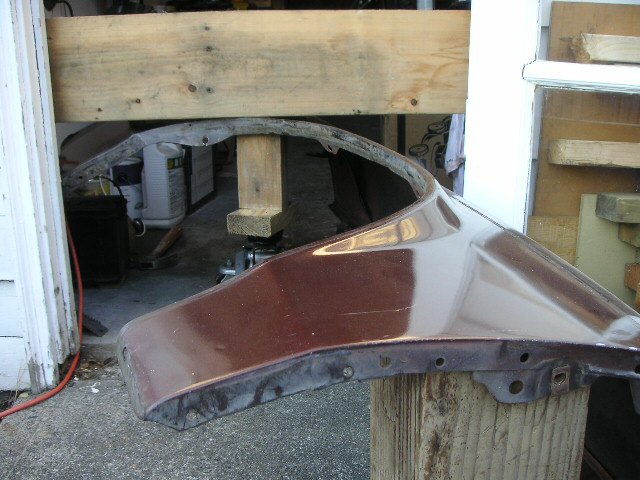
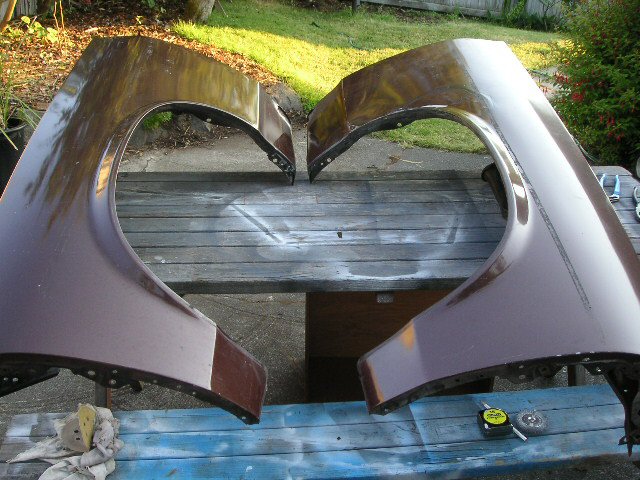 Now both quarters match with respect to curvature of the wheel well, and the
bottom half of the dented panel no longer twists inward. The finishing
touch was to bend out the inner lip to match what the good one looked like, so
the wheel well will match up later during installation. Last photo, front
view, shows that they are good enough for me at this stage. Some filler
will be needed to smooth things out, of course.
Now both quarters match with respect to curvature of the wheel well, and the
bottom half of the dented panel no longer twists inward. The finishing
touch was to bend out the inner lip to match what the good one looked like, so
the wheel well will match up later during installation. Last photo, front
view, shows that they are good enough for me at this stage. Some filler
will be needed to smooth things out, of course.
 Some of the
other items I'm documenting for anyone else who might be considering a
restoration... If you're like me (somewhat of a perfectionist) you'll find it
very hard to do things half-way; so plan on more work than anticipated, but have
fun anyway! It does help to know when to quit; I keep reminding
myself that this is not a show car--- this work is being done to halt and
reverse the aging process. The final goal is to end up with a unique
vehicle to represent the site. I think you'll be pleasantly surprised with
what is planned.
Some of the
other items I'm documenting for anyone else who might be considering a
restoration... If you're like me (somewhat of a perfectionist) you'll find it
very hard to do things half-way; so plan on more work than anticipated, but have
fun anyway! It does help to know when to quit; I keep reminding
myself that this is not a show car--- this work is being done to halt and
reverse the aging process. The final goal is to end up with a unique
vehicle to represent the site. I think you'll be pleasantly surprised with
what is planned.
You can contact Roland, the mad mechanic, at
pontiacv@pontiacventura.com
FEB04: Last August I severely injured my lower back
(tailbone, actually) which put me out of action until the winter set in, so I
haven't progressed with the car during the cold weather at all. The good
news is, I've located a guy who has an industrial strength sand blaster to whom
I can take all my parts! It has also given me time to re-think paint
colors and powertrain options. Given the fact that it has Buick's 3.8L V6,
I have a wild idea about going the turbo route, just to have something a little
different. Been reading up on the '87 Buick GNX for inspiration and tech
ideas. See
www.buickgnx.com for cool info and a video of a
GNX kicking a Callaway Twin-Turbo Vette's ass in the 1/4 mile. Anyway,
with some warmer weather showing up, I've been anxious to get started again!
Ro
 |
 |
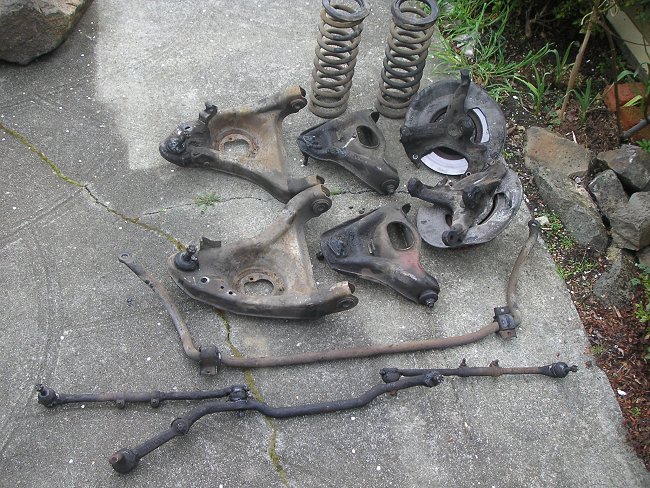
(L) After being sidelined with an irksome back injury, I finally got the
doggone oversize springs removed and all the other suspension parts out
a few weeks ago. Accessible portions of the front subframe have been
cleaned up and undercoated as well. No, I wasn't prepared to unbolt
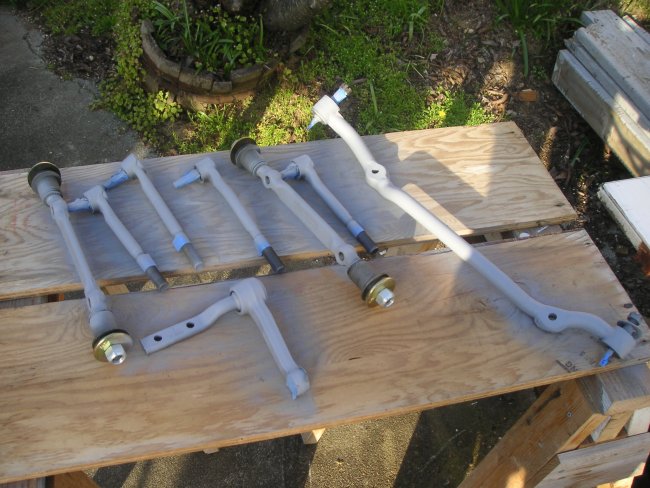
the subframe; there's no room for that. (R) The new PST parts are primered, and have since received their final coat. The drag link is still the original, since you can't find a repro yet. |
 |
 |
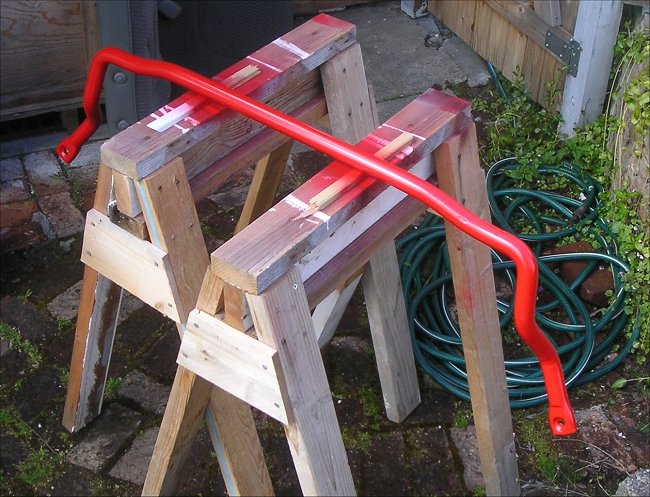
(L) The fat new G-Max sway bar is prettied up. It's way bigger than the
spindly little thing in the previous photo. Weighs a ton, too...I'd
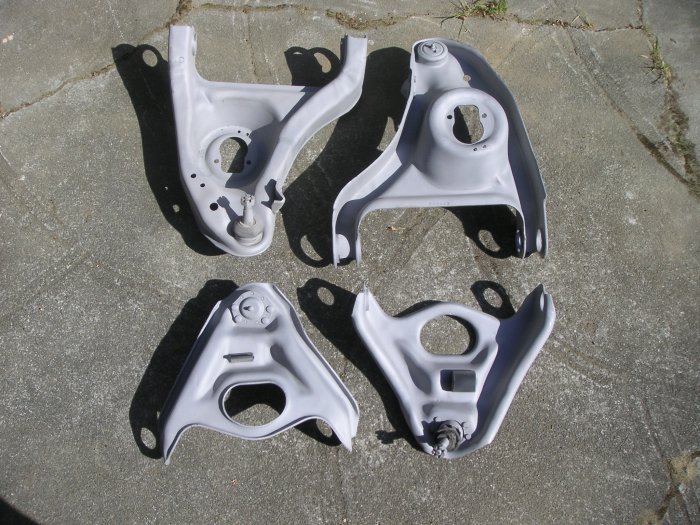
chose a hollow bar next time, but didn't know they were available. (R) Control arms were walnut-blasted and looked absolutely gorgeous, like powdered aluminum or something. After a protective coat of paint, Brian's Auto in Burien WA did a fine job of removing the old hardware and pressing in the new PST ball joints. The tech even wrapped them in protective cardboard so they wouldn't get scratched! Normally, you'd get all the old stuff removed first, then blast, but that's how it panned out... |
 |
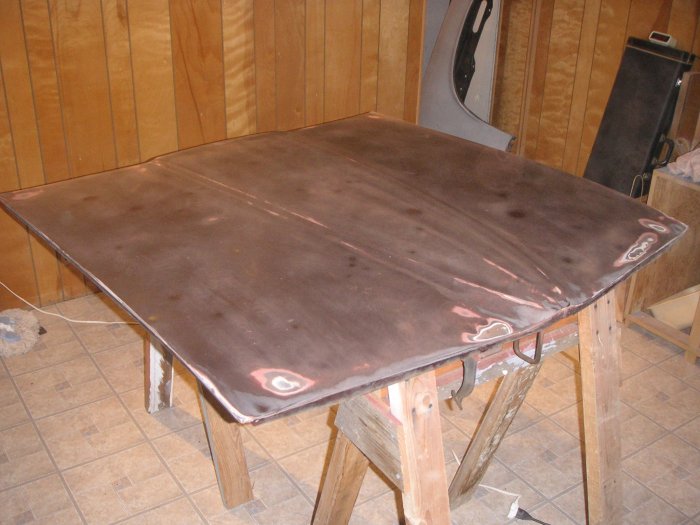 |
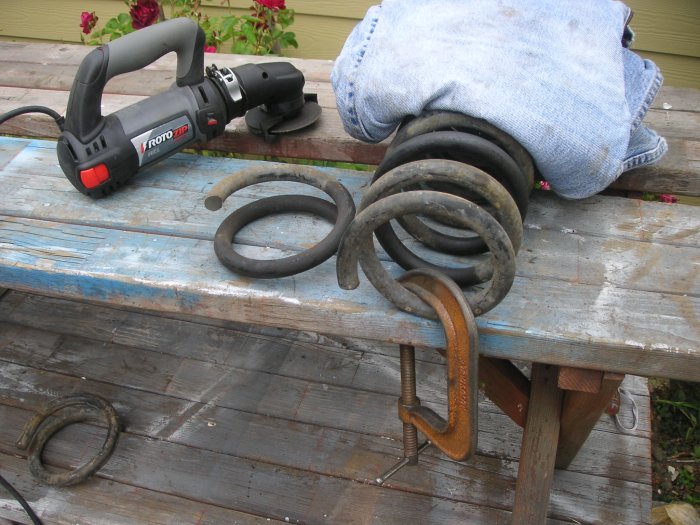
(L) At some point, new springs were installed in
our project car, but I suspect the wrong ones were put in, probably intended
for a heavier V-8. I cut off about a coil and a half; if I guessed
wrong they'd be coming out anyway. Note space age clamping and noise
reduction technology at work. (R) When you just can't wait for the weather to warm up, haul your hood and other panels into the finished basement and start doing bodywork (my wife is a very understanding woman). Those spots on the hood are dents from a hailstorm, according to the former owner. I can't believe how freaking heavy the thing is. Fiberglass, here we come??? Lots of boat builders in the Seattle area to chose from for that kind of work if I don't want to pay shipping charges from existing suppliers. |
 |
 |
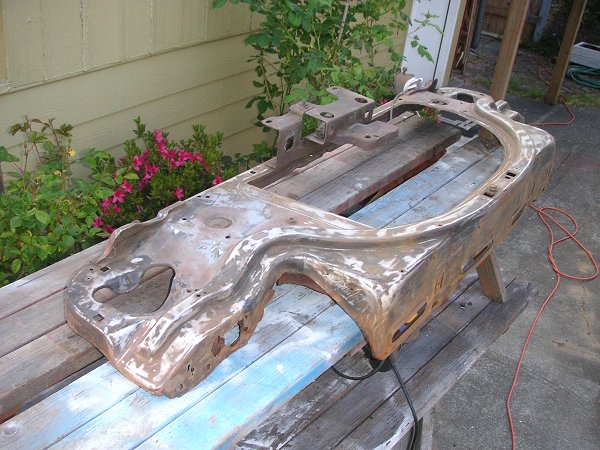
The most time-consuming part thus far has been the core support--- which is pathetic, because it's pretty much out of sight, yet it was the only part of the car with significant rust damage (mostly due to battery acid). In retrospect, I should have tried to find a new one, but oh well. After scraping, wire wheeling, chiseling, cutting and sanding, you can see it here with a heavy coat of Rust Bullet. |
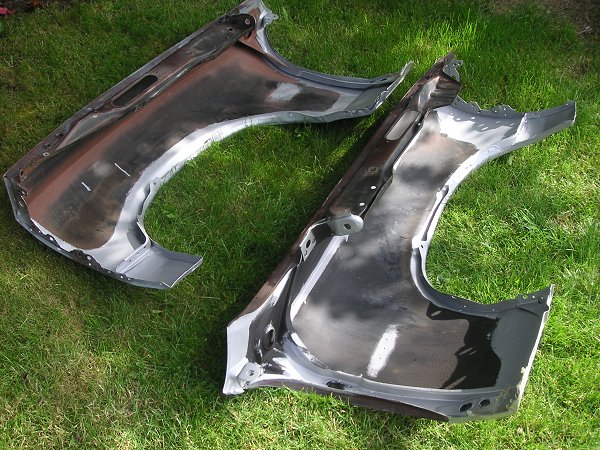 |
Front fenders were also treated inside with Rust Bullet. They've been patched with some fiberglass cloth and just need a little filler for smoothing. Remember, this car is going to be for fun, not concourse showing! After the fenders and hood are done, the front clip will be painted and reassembly can begin. This is NOT how you would normally do a rebuild, I'm just breaking it down into manageable bites. Like eating an elephant...one bite at a time. |
|
 |
 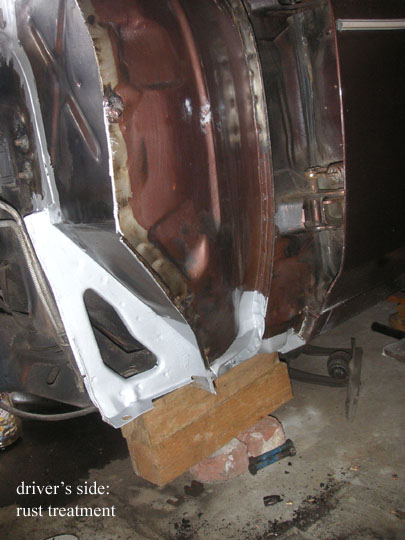 |
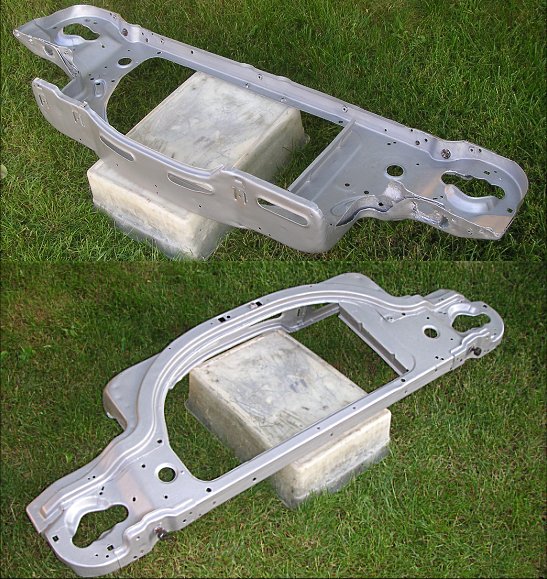
Summer, 2007. With the weather warming up (finally) I've begun pecking away at it again. Even though this car had minimal rust thanks to the efforts of the previous owner, there's still a substantial amount of internal rust, some of which has eaten thru the area below the fan housing. I'm astounded at how poorly GM designed this area of the car (probably the same across all model lines), with virtually no thought given to drainage or entrapment of debris. I pulled about 2 handfuls of leaves, dirt and pine needles out of this area! The silver coating is Rust Bullet, a 1-step rust treatment. Undercoating will follow. By the time you read this, new coil spring cushions (these fit up inside the subframe to prevent squeaking) should be in hand. Those are available thru our friends at Metro Moulded Parts, who developed the '73 Ventura hatch seal and have lots of other goodies available. |